Introduction
This information here is in no way complete. I'm writing this down as I try to figure out how CMake works and hopefully this information is useful for others also.There is a example project which you can find here: cmake_project_example
The example project consists of a library and and an application which uses the library. The CMake file for the library will define components for installation and will also write package configuration files which can be used with find_package.
All descriptions in this post are referring to the libexample/CMakelists.txt file
Installing Header Files
There are two ways how to install header files. When all public header files are included in a directory it is possible to use the install command to copy the header files: install(
DIRECTORY include/ DESTINATION ${CMAKE_INSTALL_INCLUDEDIR}
)
It is also possible to specify each public header file individually and then use also the install command to copy the header files to the specified directory:
 set_target_properties(${PROJECT_NAME} PROPERTIES
 ...
   PUBLIC_HEADER include/${PROJECT_NAME}/example.h
   )
 ...
 install(TARGETS ${PROJECT_NAME}
 ...
   PUBLIC_HEADER DESTINATION ${CMAKE_INSTALL_INCLUDEDIR}/${PROJECT_NAME} COMPONENT Development
   )
Depending on the project structure one of the two solutions could be better suited (Why add header files into ADD_LIBRARY/ADD_EXECUTABLE command in CMake).
Add Package Configuration Files
Package configuration files allow other CMake projects to find the library which makes it possible to include the header files and link to the library. CMake will search in some predefined paths for the package configuration file (Search Procedure).A target is specified in the install command:
 install(TARGETS ${PROJECT_NAME}
   EXPORT ${PROJECT_NAME}Targets
   INCLUDES DESTINATION ${CMAKE_INSTALL_INCLUDEDIR} COMPONENT Development
The INCLUDES_DESTINATION does not install any header files but it will determine the include path when using the package. In this example the header files will be installed in the directory ${CMAKE_INSTALL_INCLUDEDIR}/${PROJECT_NAME} (e. .g /usr/local/include/example/) but to use the header files the include directive has to be
#include <example/example.h>
Then a target file for the project will be generated:
 install(EXPORT ${PROJECT_NAME}Targets
  FILE
   ${PROJECT_NAME}Targets.cmake
  NAMESPACE
   ${PROJECT_NAME}::
  DESTINATION
   ${ConfigPackageLocation}
  COMPONENT
   Development
 )
The target file is then added to the Config.cmake.in file:
include("${CMAKE_CURRENT_LIST_DIR}/@PROJECT_NAME@Targets.cmake")
and finally the configuration files for the package will be generated:
 include(CMakePackageConfigHelpers)
 ...
 configure_package_config_file(
   ${PROJECT_NAME}Config.cmake.in
   ${PROJECT_NAME}Config.cmake
   INSTALL_DESTINATION "${ConfigPackageLocation}"
   PATH_VARS CMAKE_INSTALL_PREFIX
   )
 write_basic_package_version_file(
   ${PROJECT_NAME}ConfigVersion.cmake
   VERSION ${EXAMPLE_VERSION_STRING}
   COMPATIBILITY AnyNewerVersion
   )
 install(
  FILES
   "${CMAKE_CURRENT_BINARY_DIR}/${PROJECT_NAME}Config.cmake"
   "${CMAKE_CURRENT_BINARY_DIR}/${PROJECT_NAME}ConfigVersion.cmake"
  DESTINATION
   ${ConfigPackageLocation}
  COMPONENT
   Development
 )
Installing Components
The install command lets you define COMPONENTS. For example this makes it possible to only install the library or to only install the development files. This could be helpful for packagers who want to create seperate packages.Define a COMPONENT name in the install command:
 install(TARGETS ${PROJECT_NAME}
   EXPORT ${PROJECT_NAME}Targets
   ARCHIVE DESTINATION ${CMAKE_INSTALL_LIBDIR} COMPONENT Library
   LIBRARY DESTINATION ${CMAKE_INSTALL_LIBDIR} COMPONENT Library
   RUNTIME DESTINATION ${CMAKE_INSTALL_BINDIR} COMPONENT Library # This is for Windows
   INCLUDES DESTINATION ${CMAKE_INSTALL_INCLUDEDIR} COMPONENT Development
   PUBLIC_HEADER DESTINATION ${CMAKE_INSTALL_INCLUDEDIR}/${PROJECT_NAME} COMPONENT Development
   )
 install(EXPORT ${PROJECT_NAME}Targets
  FILE
   ${PROJECT_NAME}Targets.cmake
  NAMESPACE
   ${PROJECT_NAME}::
  DESTINATION
   ${ConfigPackageLocation}
  COMPONENT
   Development
 )
If you want to install a specific component you can then use the following command:
$ DESTDIR="$(pwd)/install" cmake -DCOMPONENT=Development -P cmake_install.cmake
Using Library Without Installing
It is possible to use the library in another project without installing it. You have to append the following lines to libexample/CMakelists.txt: export (PACKAGE ${PROJECT_NAME})
This command will create a configuration file in the users home directory.
Linking To The Library From Another Project
Then it is possible to link to the library from another project: target_link_libraries(<project name> <namespace>::<library project name>)
target_link_libraries(myProject example::example)


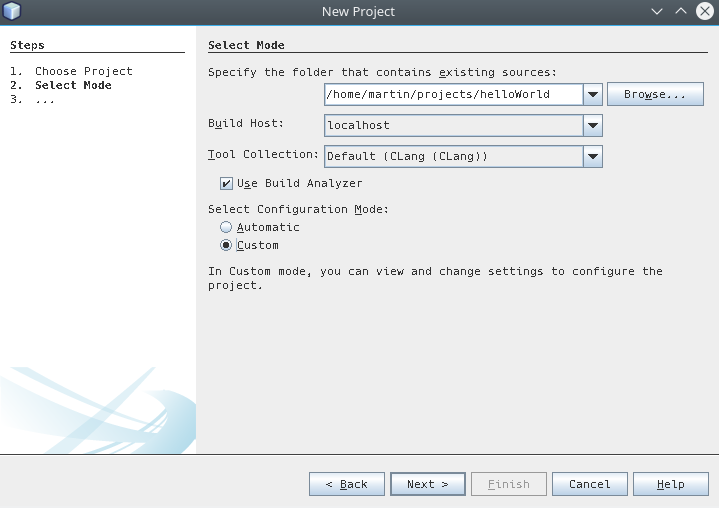
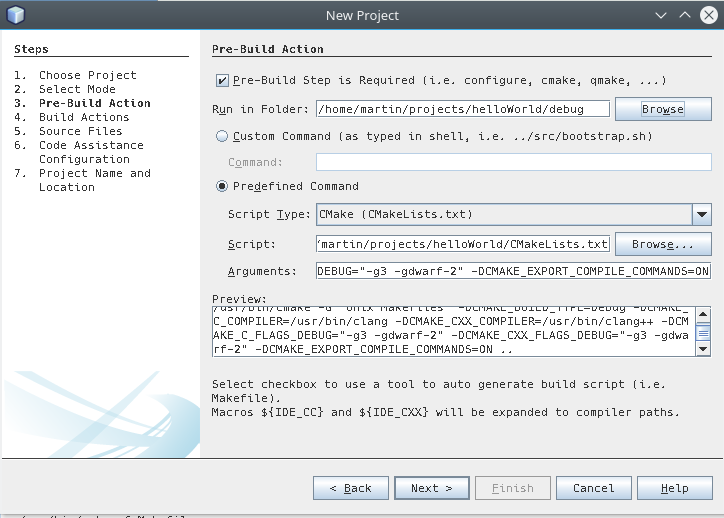
 Then you have to create a new project: File -> New Project... -> C/C++ Project with Existing Sources. Then select